The wind blew hard on my front porch, knocking the Bear down several times; once the background white board collapsed and flew into my face, and, when I checked the pictures I had missed twice, showing my feet instead of the Bear face. Luckily there was Bear number six, a good reason to repeat the effort.
So, I will show you how I make a Bear face. There are as many different faces as there are Bears, and if you already have a way to make your Bear smile or wink and look into a child's eyes, disregard all this. But if you are sitting in front of your first stuffed Bear and he/she has a blank face that scares you a bit, because you don't quite know how to begin, this post is for you.
And here I go, on a windy afternoon on my front porch, shivering just a bit, but in need of daylight and a plain background. I am staring at a finished, stuffed Bear, some black yarn, a tapestry needle, a pair of scissors, and my iPad. I am determined to document stabbing this Bear into life
I use about 30 inches of black Worsted weight yarn for a darker Bear, brown yarn for a lighter Bear, or, occasionally, purple or hot pink, depending on my mood.
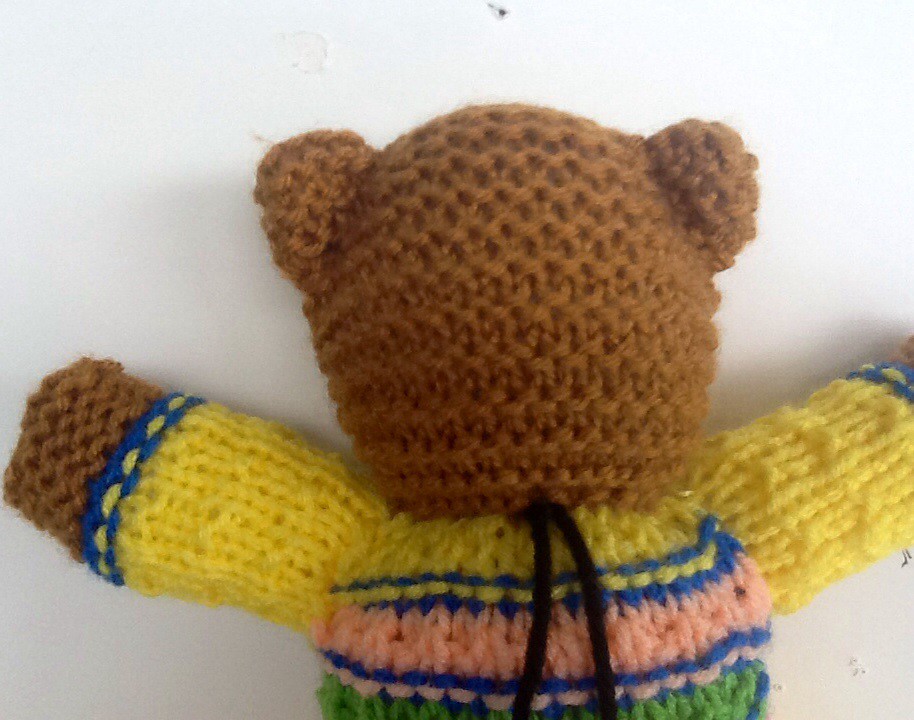
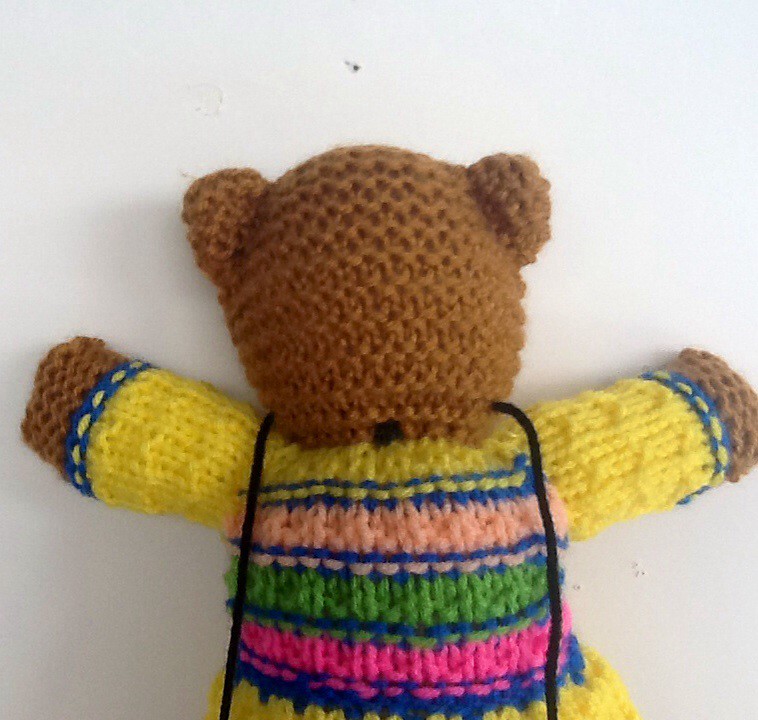
I insert the needle in the back, in the middle, where head and torso meet and I leave five or six inches of a tail
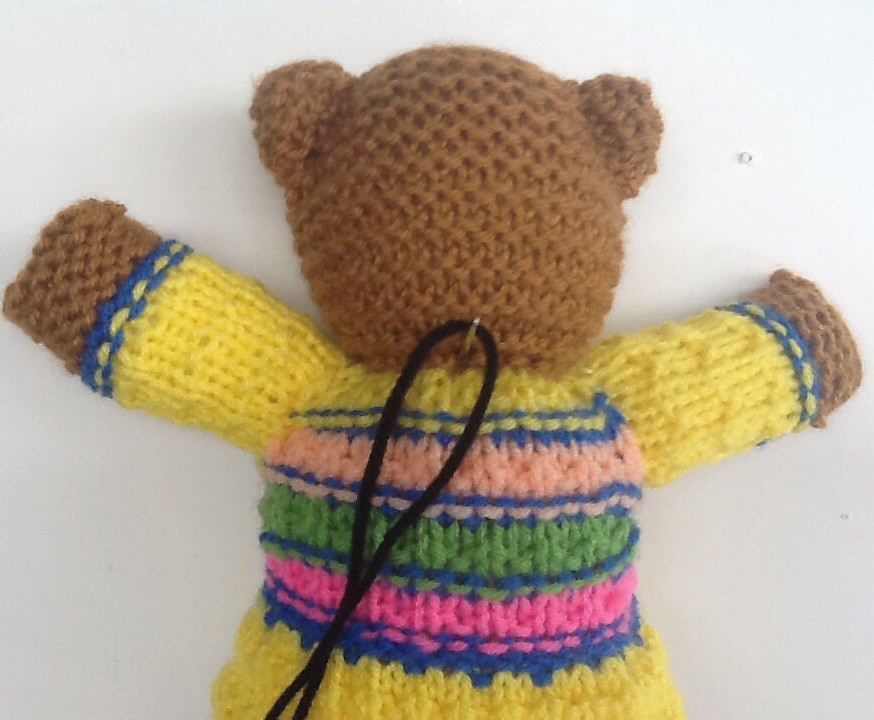
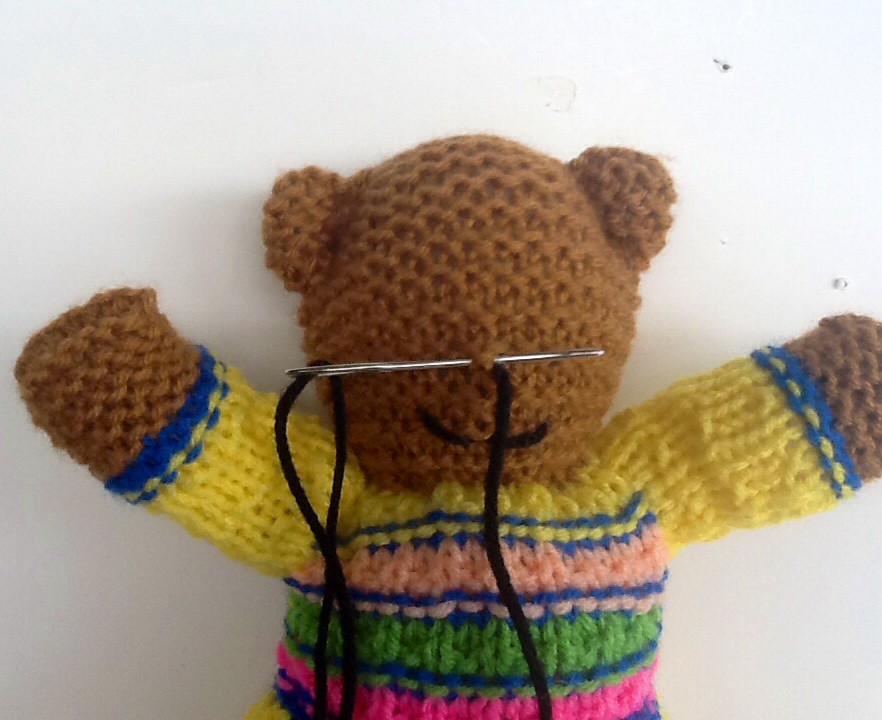
I come out in front, about four or five rows up from the neck wherever I perceive the middle of the row to be. If the scarf I have knitted is wide, I go up a bit more.
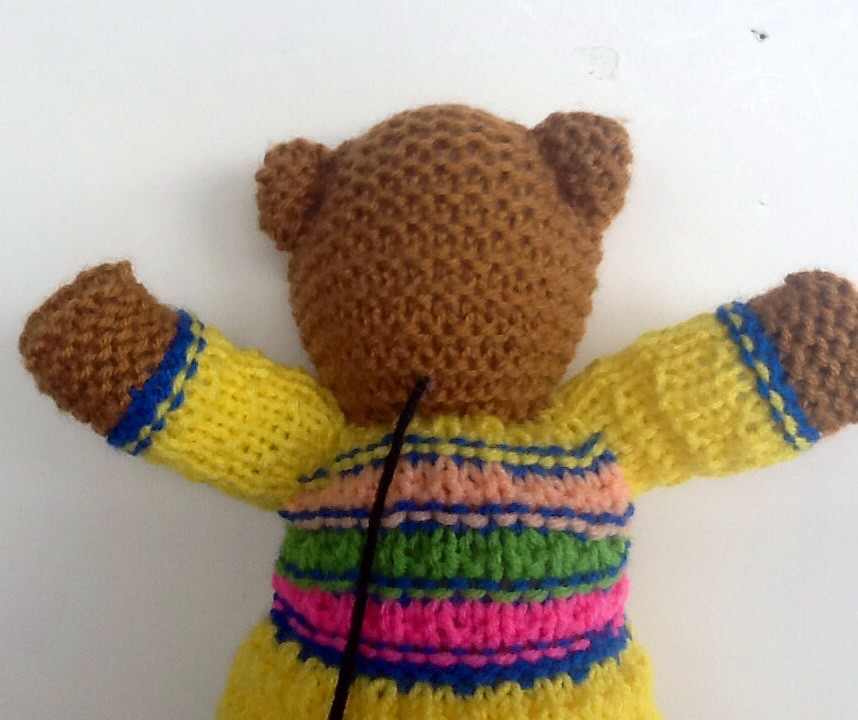
Now I insert the needle to the left, about three stitches from the middle and one row up and exit at the same height and amount of stitches to the right.
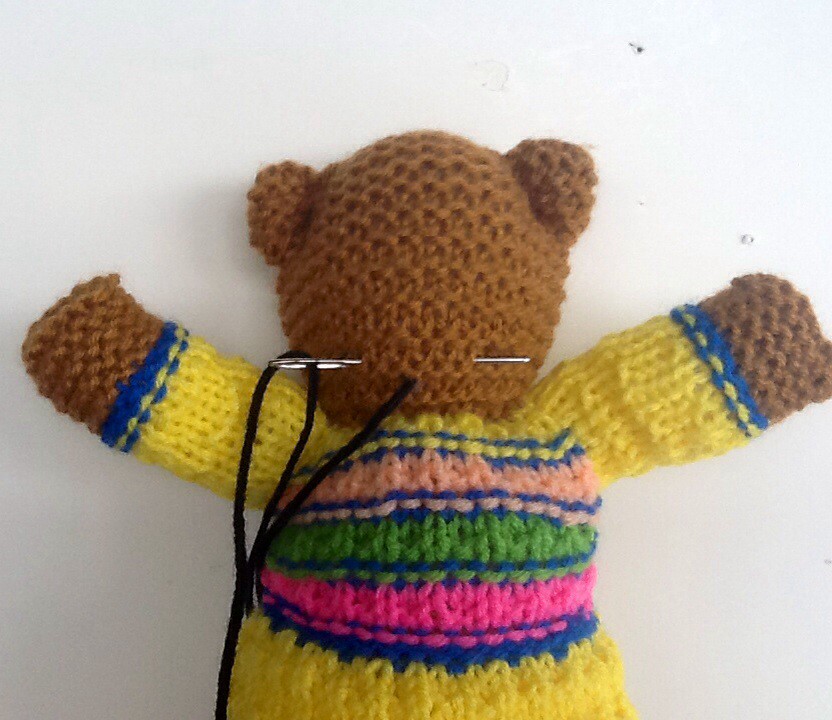
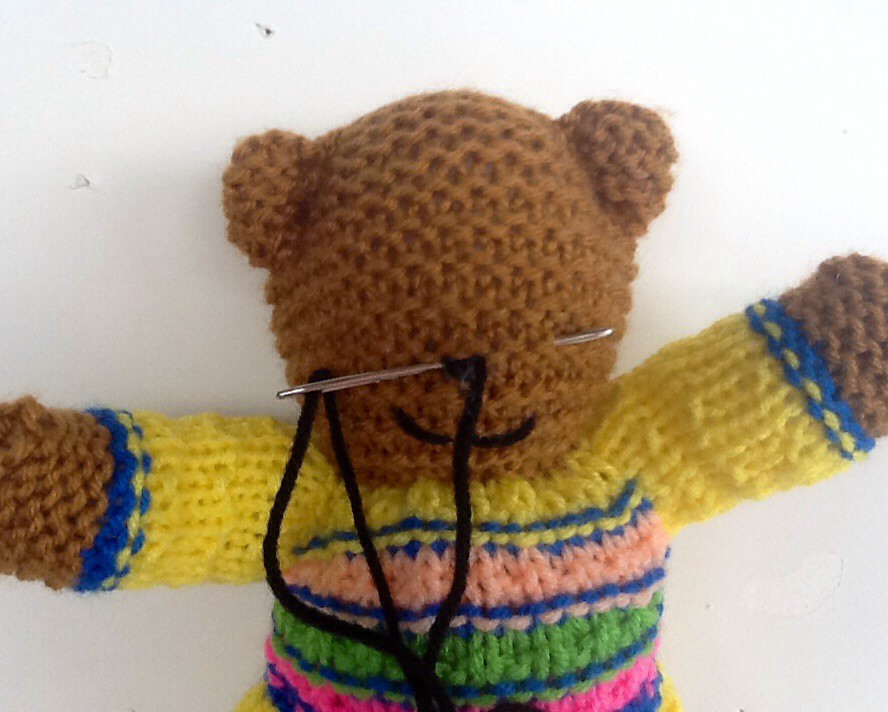
I insert the needle once again in the middle, meeting the other half of the mouth, and then exit about four rows up to the right of the middle stitch
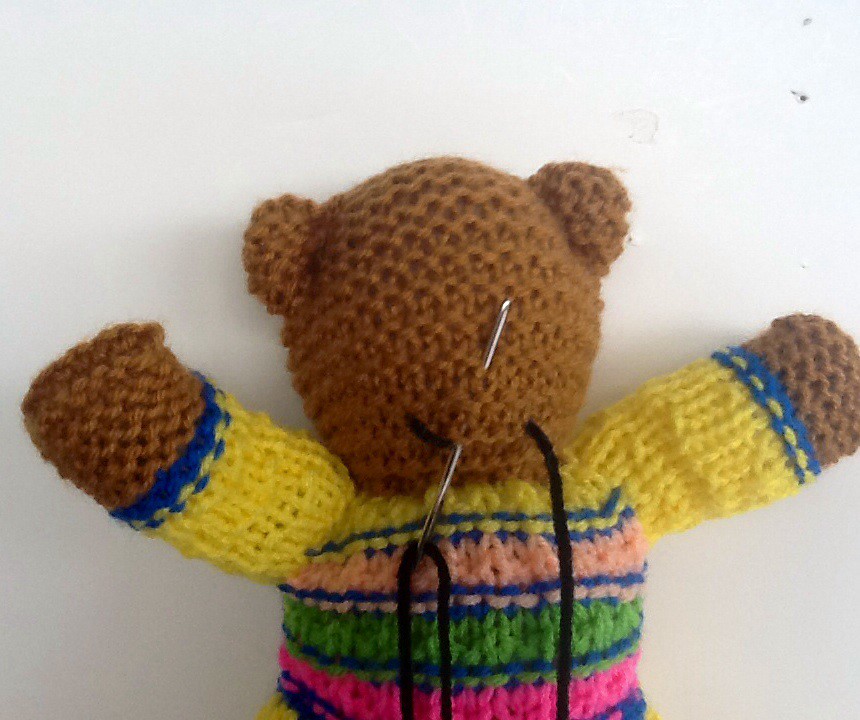
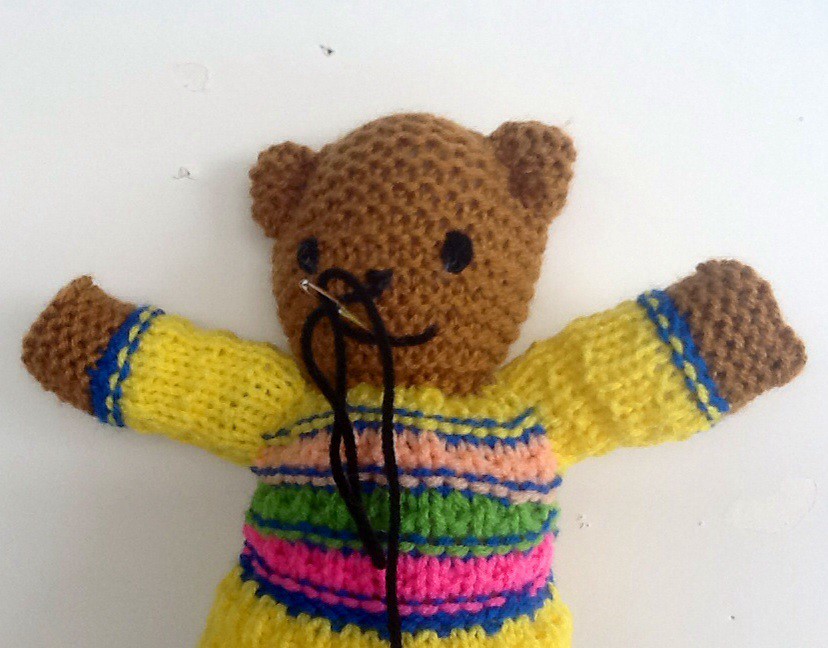
Now I go across the middle stitch two or three times forming a little nose. When I am really brave I attempt a little triangle by enlarging the loops slightly toward the top. (It doesn't happen very often, but I like the way it looks.)
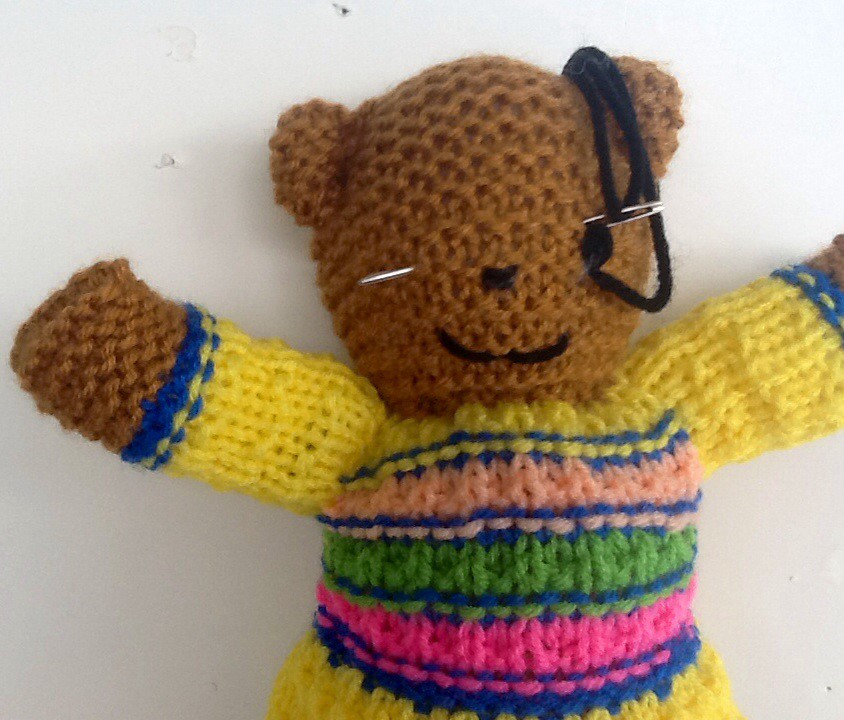
After the last stitch for the nose I exit the needle three stitches to the right, a row or two above the nose
And insert again one or two rows above that, depending on how big an eye I want. I repeat, in and out in the same stitch four or five times, then, after the last repeat, I exit for the left eye, in mirror image fashion.
After the left eye is as big as the right eye I exit just below the nose, in the middle of the middle stitch, as close to the nose as possible, so as not to leave a space. To finish the face I reenter into the middle of the mouth, between the two halves of the mouth
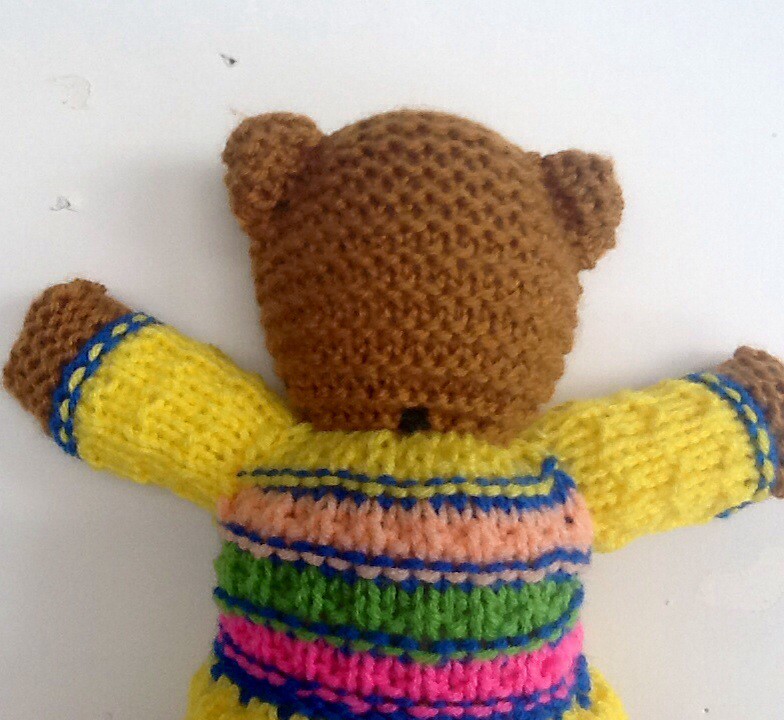
... and exit in back, a stitch away from the beginning of the face journey
All that is left now is making a knot, weaving the two ends toward the sides ...
... and cutting the ends. The knot will later be hidden by tying down the scarf right over it.
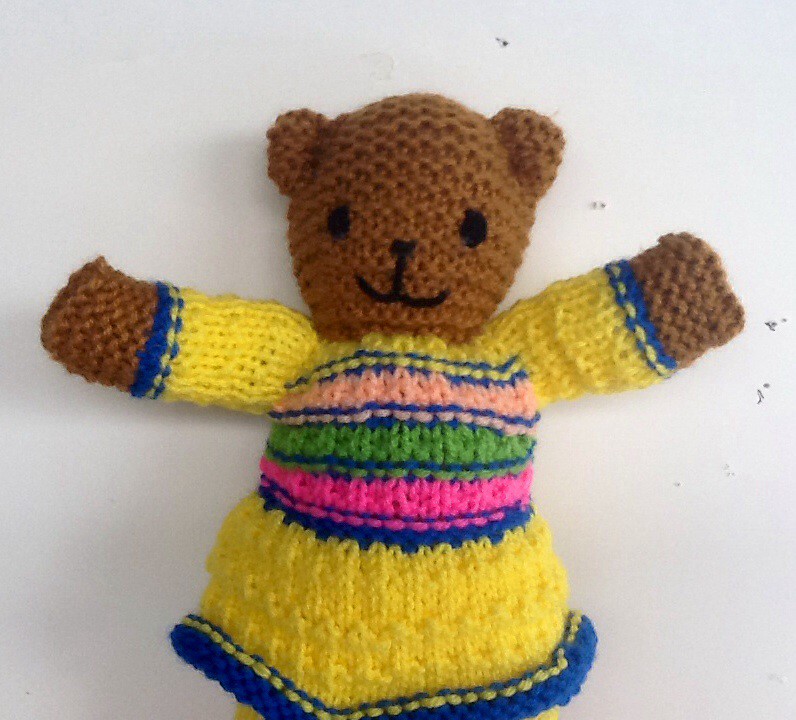
And here you have it - Bear face number 306.
Bears 301 to 306 are awaiting "detailing" such as hats, scarves, purses, headbands, flowers, and the weaving in of a few loose ends. More about them in my next post.
4 comments:
Vielen Dank!
I've only done one bear so far, and guesstimated how to do the face based on some of the pictures on the MB pattern (seamless crochet version). Your instructions provide a lot more guidance on how to embroider facial features, though; thanks so much!
Thanks so much for this tutorial. I don't sew and was totally intimidated by the face.
Any tips on how to do ears? Mine look more cat-like than bear-like!
Thanks so much for this tutorial. I found it very helpful. I tried unsuccessfully to do the face a few times on my own before I found your step by step guide.
Any tips on how to make rounded bear ears? Mine are more cat- like!
Post a Comment